My own NAS with Raspberry Pi
I have always wanted my own NAS seeing that I have limited storage on my laptop. Since I have an external hard drive, and a raspberry pi just laying around, I decided to finally do it. I have tha following goals for this project, and in this post I’m going to start from the first.
- Set up OpenMediaVault and enable smb
- Use the Raspberry Pi NAS as my time machine drive
What I used
Hardware
- Raspberry Pi 4
- SanDisk Extreme 128 GB micro SD card
- Raspberry Pi Universal Power Supply
- Seagate Backup Plus Portable 4TB
Software
- OpenMediaVault 5
- Raspbian
- balenaEtcher
Steps
1. Installing Raspbian
Preparing the micro SD card
First Download Raspbian here
Then use balenaEtcher to flash the image onto the SD card.
Because I am going to use ssh to connect to the Raspberry Pi, I need to enable SSH by first creating an emty ssh file at the root of the file system by running:
touch /Volumes/boot/sshAfter the steps above are done I can eject the micro SD card from my computer and insert it into the Raspberry Pi.
Now with the micro SD card prepared, I can power up the RPI with it connected to the internet via a ethernet cable.
Preparing Raspbian
To connect to the RPI, I need its ip address, which I obtained using nmap as below. Remember to change the command to match your network setting.
nmap -sP 192.168.2.0/24There should be output something like below:
Nmap scan report for raspberrypi (192.168.2.195)
Host is up (0.00027s latency).
MAC Address: XX:XX:XX:XX:XX:XX (Raspberry Pi Trading)
Now I know to connect to the RPI at 192.168.2.195 (refered onward as RPI_IP). So I logged in with the default user pi and password raspberry.
ssh pi@<RPI_IP>Remember to change the password once logged in by typing passwd.
To make sure the pi user can log in more than once via ssh, add pi into the ssh group.
sudo adduser pi sshFinnaly make sure that Raspbian is up to date.
sudo apt-get update
sudo apt-get upgrade
2. Installing OMV 5
Installing OMV
Installing OMV on a Raspberry Pi is extremely easy, simply run a single line.
wget -O - https://github.com/OpenMediaVault-Plugin-Developers/installScript/raw/master/install | sudo bashAfter the script finishes, reboot the RPI.
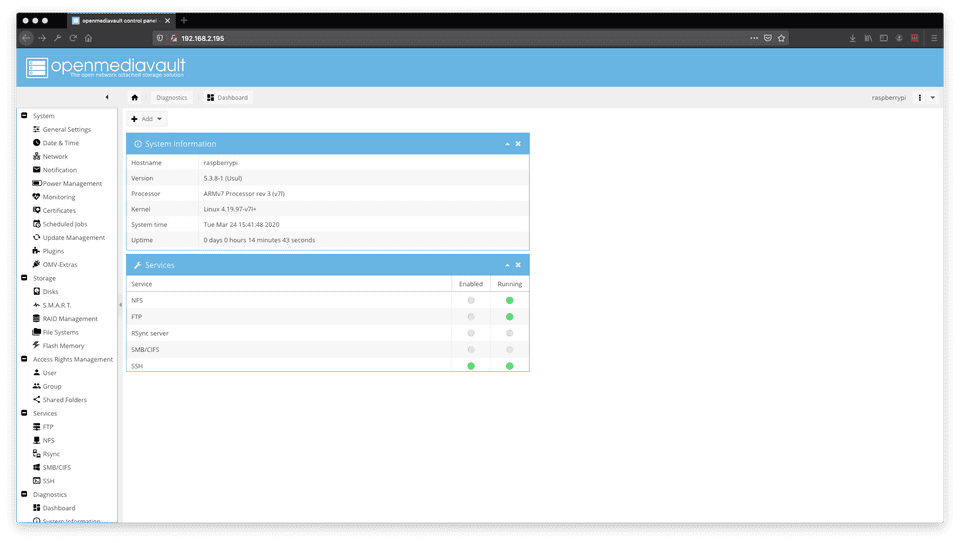
sudo rebootOnce booted, I could see the GUI by entering RPI_IP in the browser address bar. The default user is admin with the password openmediavault.
Configuring OMV
Go to System > General Settings > Interfaces to add an ethernet interface.
Select the wired Ethernet interface and select DHCP.
I also added a new user and enabled home directories in Access Rights Management > User.
3. Mount the external hard drive
Make sure the disk is connected in Storage > Disks
Then go to Storage > File Systems to create a new file system for that drive
Remember to mount the file system.
Now I can see the usage on the file system.
4. Enable SMB
I went to Services > SMB/CIFS to enable SMB. I enabled Home directories so that each user can have their own folder.
Now I can see my user folder (rootn) when I connect to the SMB server.


