Time machine with Raspberry Pi
From my previous post, I have set up a NAS with my Raspberry Pi. Now I want to back up my Mac to it with Time Machine. This is made easy with Time Machine compatible with SMB.
Steps
1. Creating a user for time machine backups
I want to create a user for Time Machine to log on to as, and set quotas so it doesn’t use up all the space.
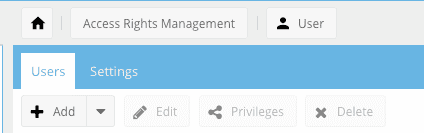
Go to Access Rights Management > User and click on “+Add”
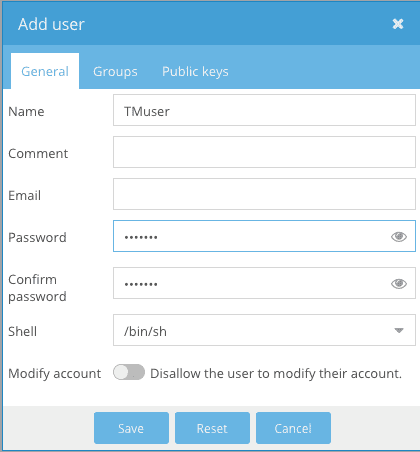
Set the username and password
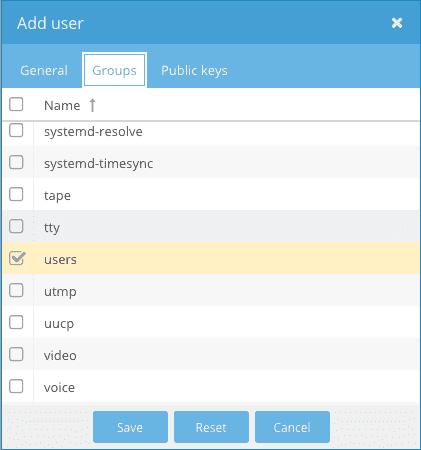
Make sure this user is in the users group.
Now you should see the user in the list

2. Manage user quota
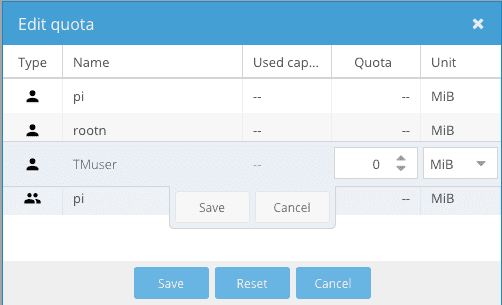
Go to Storage > File systems and click on the device the Time Machine share is on. Then click on the Quota button.

Now set the quota for the Time Machine user. I heard from a source that setting it to 2 times your mac storage should be enough.
3. Creating a SMB share
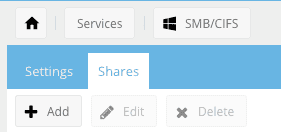
Go to the share tab in Services > SMB/CIFS and click Add
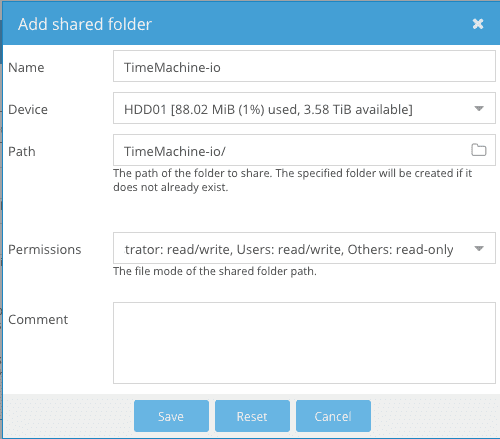
Click on + to add a new folder

Enter your configurations
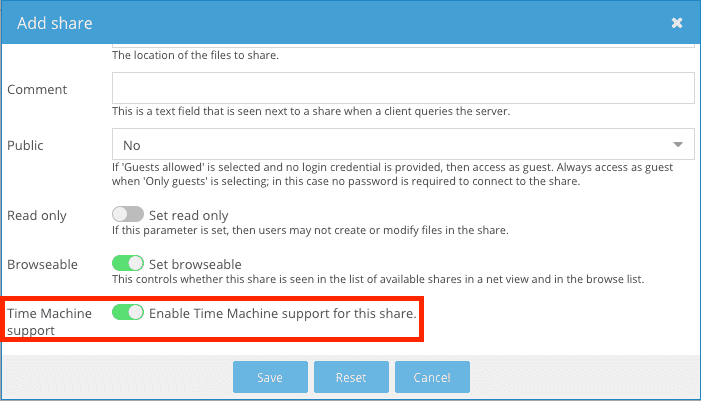
Remember to enable Time Machine Support, then save.
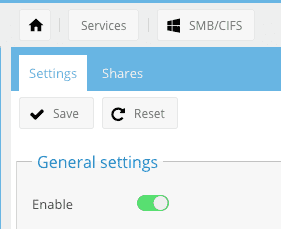
Finally, enable SMB
4. Connect via Time Machine
Now the Time Machine share will show up in the Time Machine interface.
